Production basics
Why Luxury Brands Obsess Over Stitch Density (And What the Numbers Actually Mean at the Factory Level)
Stitch density requirements in premium apparel manufacturing determine seam strength, longevity, and perceived quality. Here's what the numbers actually mean.
Stitch density requirements in premium apparel manufacturing are one of those specifications that separate brands who actually control their product from brands who are just hoping for the best. It's a number. It's measurable. It's documentable. And yet most brands never put it in their tech pack, never ask their factory what they're running, and then wonder why their seams look loose or their returns spike after six months of wear. This post explains what the numbers mean, what to specify, and what it actually costs you at the factory level to get it right.
What stitch density actually means and how it's measured
Stitch density is simply the number of stitches per inch (SPI) in a sewn seam. You measure it with a stitch counter or a transparent ruler placed along the seam line. Count the stitches in one inch. That's your number. No equipment needed beyond a steady hand and something to measure with.
What that number controls is the relationship between thread and fabric across the entire seam. More stitches per inch means more needle penetrations, more thread interlocking with the base material, more points of contact holding the seam together. Fewer stitches means fewer contact points, more stress concentrated at each individual stitch, and a seam that starts to behave unpredictably under tension or repeated wash cycles.
The stitch type matters as much as the count. A lock stitch (ASTM type 301) is the workhorse for woven fabrics. The needle thread and bobbin thread interlock at the midpoint of the fabric, creating a stable, non-stretchy seam that holds its shape. For knits, you need a different approach. A 4-thread overlock (stitch type 514) wraps the seam edge and allows stretch recovery so the thread doesn't snap when the fabric moves. Using a lock stitch on a jersey panel, or an overlock on a structured woven where you need dimensional stability, is one of the most common production errors we see on incoming samples from brands that haven't locked their specs.
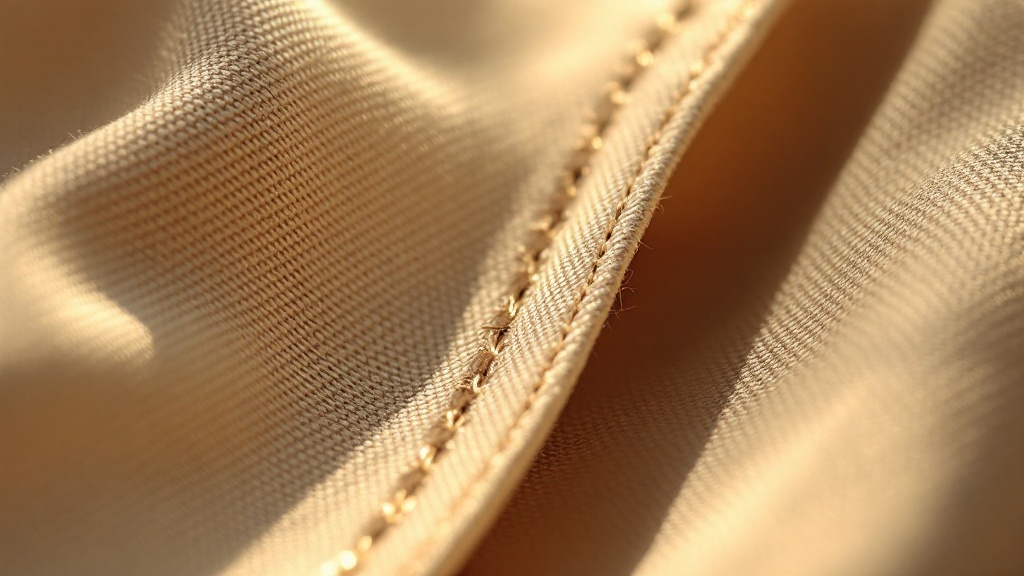
The stitches-per-inch ranges that define budget, mid-range, and premium garment construction
Here's the honest breakdown of what different SPI ranges mean in practice. These aren't opinions; they're what you see on the production floor when you pick up a garment and look at it.
- 7 to 8 SPI: Budget production. Fast throughput, lower thread consumption. Common in high-volume basics where price drives every decision. Seams are functional but not resilient.
- 8 to 10 SPI: Standard for basic woven and mid-tier knit construction. Fine for commodity garments. Most of the apparel market sits here.
- 10 to 12 SPI: Mid-range to upper-mid construction. Noticeably tighter seams, better durability, appropriate for branded product with a retail price point above $60 to $80.
- 12 to 14 SPI: Premium and luxury construction, particularly on visible and stress seams. This is the range where a garment starts to feel structurally intentional rather than just sewn.
Cheap production facilities often run 7 to 8 SPI across all garment categories simply because it increases throughput. At our production floor, the minimum spec for any client-facing seam is 10 SPI. Premium orders are quoted at 12 to 14 SPI with machine settings locked, documented, and checked at first article. That's not a marketing claim; it's something you can verify on the first sample we send you.
How stitch density affects seam strength under real-world stress
A seam sewn at 10 SPI on a standard woven fabric with typical thread can withstand roughly 35 to 45 lb of tensile force before failure. Move that same seam to 14 SPI, same thread, same fabric, and the failure threshold goes up by 20 to 30 percent depending on seam type. That's not a small margin. On a side seam or a crotch seam, that difference is the gap between a garment that lasts three years and one that splits at the worst possible moment.
The mechanism is straightforward. At higher SPI, the load is distributed across more interlocking thread points. When stress is applied, each stitch bears a smaller share of the total force. At low SPI, each stitch is doing more work, and failure tends to cascade once the first stitch gives way. It's the same logic as using more fasteners in a structural joint.
Thread tension is a variable that interacts directly with this. A machine set to 12 SPI with incorrect upper tension will produce looping on the underside of the seam, or puckering along the seam line. Both of these look like a density problem on a sample. They're not. They're a calibration issue. Brands need to know the difference when reviewing pre-production samples, because the fix is different in each case. Looping means tension adjustment. True low density means resetting the machine's stitch length.
What happens to a garment's appearance and hand feel when stitch density is too low
A seam with low stitch density looks loose. There's a slight waviness along the seam line, even when the seam is lying flat. Under stretch or after washing, that waviness becomes more pronounced and the seam starts to gap slightly between stitches. It doesn't look intentional. It looks like a manufacturing shortcut, because it is.
Hand feel is the other thing. A seam sewn at 12 to 14 SPI with correctly tensioned thread sits flat against the fabric. It doesn't ridge, doesn't roll, doesn't create a hard line you can feel through the garment. A seam at 7 to 8 SPI with tension dialled too tight creates a ridge that you can feel through the garment even if it's not visible from the outside. Both problems come from inadequate density, just calibrated differently.
Topstitching is where this gets into design territory as well as structural territory. Visible topstitching on premium denim, workwear, or structured outerwear is typically specified at 6 to 8 SPI using heavier thread, size 30 to 40, for a deliberate, chunky aesthetic. That's intentionally lower SPI than your seam construction because the point is visual weight, not structural performance. The stitch density here is a design decision. But it has to be specified explicitly or the factory will default to whatever the operator feels comfortable with.
Why stitch density requirements change depending on fabric weight and fibre content
Fabric is not a neutral variable. A stitch density that's correct for a 7 oz/sq yd denim will damage a 3.5 oz/sq yd chiffon. The needle penetrates more times per inch, which means more stress on the weave structure of a lightweight fabric, and the thread itself can pull the weave and create puckering that doesn't wash out.
Thread weight is the adjustment. A size 50 thread at 14 SPI on a 3.5 oz/sq yd fabric will cause puckering because the thread mass relative to the fabric's open structure is too high. The correct pairing for that weight of fabric is typically a size 80 to 100 thread at 12 SPI. That combination gives you density without overloading the weave.
Stretch fabrics are their own category. Swimwear and activewear seams almost always require flatlock or coverstitch construction running 8 to 10 SPI with a 2-needle configuration. This gives you a seam that can extend with the fabric without the thread snapping. A single-needle overlock on a swimwear side seam will open under stretch and fail within one season of regular use. We see this regularly on sampling from brands that haven't specified stitch class in their tech pack, only SPI.
What brands need to specify in their tech pack to lock in density standards
Your tech pack should include a stitch specification table. Not a note in the comments. An actual table. If it's not in the tech pack, it's not a requirement. It's a hope.
The table should cover, at minimum, these fields for each seam type in the garment:
- Seam location (e.g., side seam, inseam, shoulder seam, armhole, topstitch).
- Stitch class (301 lock stitch, 504 overlock, 514 4-thread overlock, 406 coverstitch, etc.).
- SPI minimum and maximum (a range, not a single number — give your factory a workable tolerance, typically plus or minus 1 SPI).
- Thread size (size 50, 60, 80, 100 depending on fabric weight).
- Thread type and fibre content (spun poly, core-spun, textured nylon for swimwear, etc.).
- Seam finish (turned and stitched, French seam, bound, serged edge, etc.).
Retail buyers from mid-to-premium department stores increasingly include stitch density minimums in their vendor compliance manuals. If you're pursuing wholesale placement and you can't show documented SPI specs during a vendor evaluation, you're signalling that you don't control your own production. That's a fast way to lose the conversation with a buyer who has a compliance checklist in front of them.
How factories balance stitch density with production speed and what that trade-off costs
Higher SPI means more stitches per seam, which means the seam takes longer to sew at the same machine speed. Operators can compensate by running the machine faster, but that introduces tension variability and skipped stitches. The honest answer is that going from 10 SPI to 14 SPI on a seam adds time per unit, and that time has a cost.
At a production run of 500 units, the labour cost difference between 10 SPI and 14 SPI on a 5-seam garment is typically $0.30 to $0.60 per unit, depending on seam length and construction complexity. That's it. Thirty to sixty cents. For context, a single return in a direct-to-consumer operation costs you $8 to $20 in logistics alone, before you account for the product loss. A retail buyer rejection on a shipment over a seam failure can pull the entire order. The maths are not complicated.
What factories don't tell you is that they have a throughput incentive to run lower SPI. More units per day means better margins on their labour cost. If you haven't specified SPI and you're not checking samples carefully, you will get whatever the operator's default is. The solution is the tech pack spec and the first article inspection, not trust.
What to check during QC inspection before a shipment leaves the factory
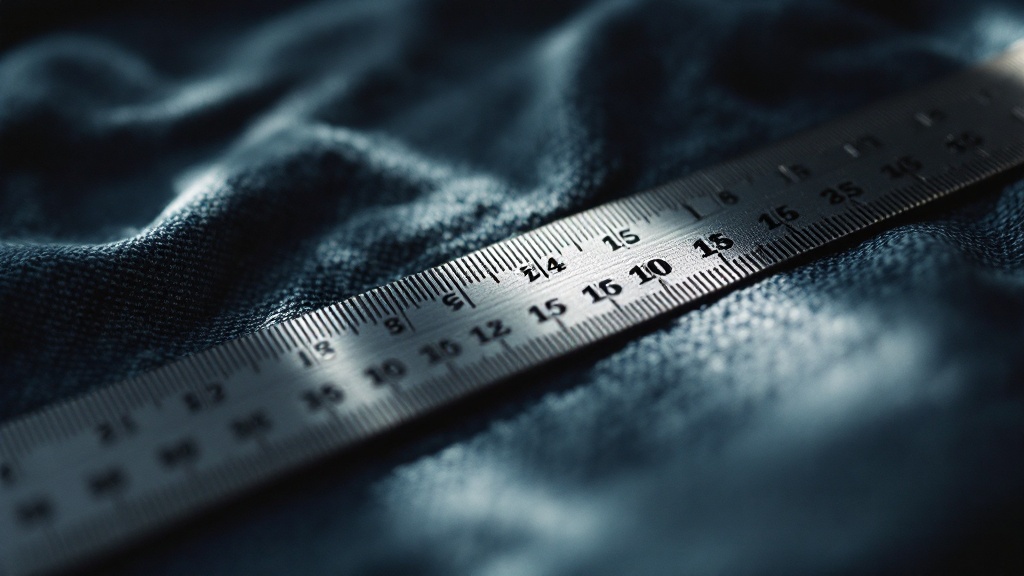
Stitch density is one of the easiest specifications to verify on a production floor. You don't need specialist equipment. You need a ruler and a count. Here's what a proper in-line and final QC check should cover on stitch density specifically.
- Measure SPI on at least 3 seams per garment type, including the highest-stress seam (crotch, side seam, or armhole depending on the garment).
- Check both the face and the underside of the seam. Looping on the underside is a tension problem that doesn't show from the outside during inspection but will degrade seam strength.
- Look for skipped stitches. One skipped stitch per 6 inches of seam is typically an acceptable AQL tolerance for mid-range product; premium should be zero tolerance.
- Check seam pucker by laying the seam flat. It should lie flat without pressing. If it requires steam to lie flat, the tension settings need adjustment.
- Verify stitch class matches the tech pack spec. An operator under time pressure will sometimes switch to a faster stitch class that doesn't match the specification.
- Check topstitch SPI separately. It's usually a different machine and a different operator, and it should be logged separately in your QC report.
The time to catch a stitch density problem is before the garments are folded, tagged, and boxed. A QC hold at that stage costs you time but not product. A failed shipment that reaches a retail floor, or a consumer who receives a defective garment, costs you the account or the customer. Run the check on the production line, not on the shipping dock.
None of this is complicated. It's just specific. Stitch density is one of the clearest places in garment manufacturing where a documented, verified number separates a production process from a guessing game. Get the spec in the tech pack, confirm it on the sample, check it in production. That's the whole system.
If you're ready to spec stitch density properly before your next production run, send us your tech pack or a description of your garment and we'll tell you exactly what SPI, stitch class, and thread weight we'd recommend before sampling begins.
Get a quote