Production basics
What's Inside Your Garment Is What Retail Buyers Actually Judge First
Internal garment finishing specifications reveal construction quality before price is discussed. A practical guide to seams, bartacks, lining, and what to write in your tech pack.
Getting your internal garment finishing specifications right is not a secondary concern. It's where experienced buyers start. Before they check the label, before they ask about price, before they even look at the shell fabric, they turn the garment inside out. If what they see doesn't match the retail price you're asking, that conversation ends fast. This guide covers what those details actually are, what they cost, and how to specify them properly so your factory executes them correctly the first time.
Why internal finishing is the first thing experienced buyers check
Mid-tier U.S. boutique buyers and department store buyers have seen thousands of samples. They know within 30 seconds whether a garment was built with a coherent internal spec or whether the brand handed the factory a sketch and hoped for the best. The interior of a garment is where a factory can't hide shortcuts. Shell fabric is easy to source well. Interior finishing requires discipline, consistency, and a tech pack that actually addresses it.
A poorly finished interior is enough to end a buyer conversation before price is even discussed. It signals that the brand doesn't know how their own product is made, or that the factory wasn't given clear direction. Either way, the buyer moves on. This isn't about being precious. It's about the fact that interior finishing directly predicts how a garment holds up after ten washes, and buyers know it.
At Procesarte, incomplete finishing specs are one of the top three reasons a sample gets rejected on first review. Brands that specify shell construction in detail but leave interior treatment vague consistently receive a garment that doesn't match their retail positioning. The factory fills in the blanks with whatever is fastest and cheapest. That's not negligence on the factory's part. It's what happens when the spec doesn't exist.
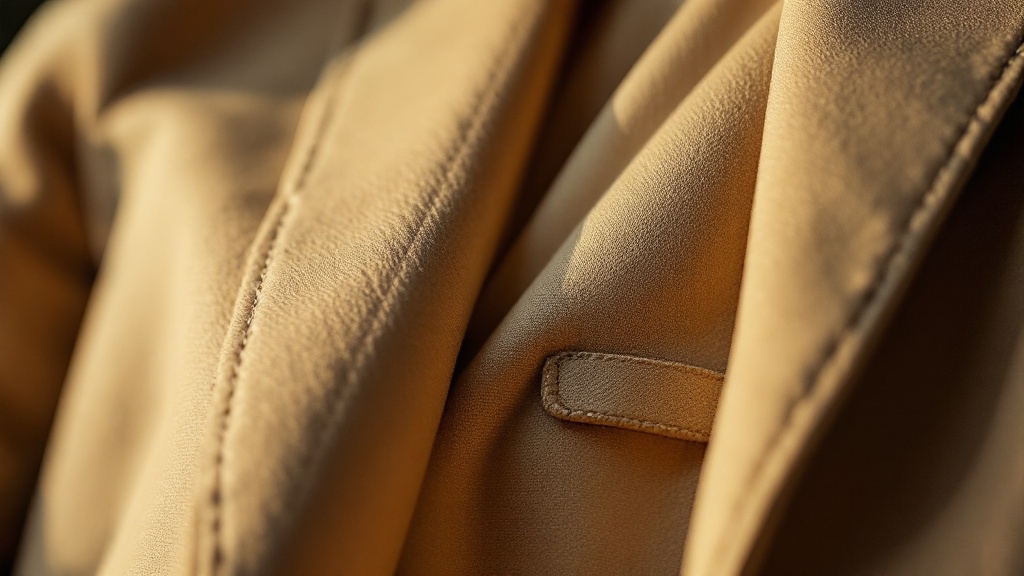
Taped seams: what they are, when you need them, and what they cost per unit
A taped seam means a narrow strip of woven or fusible tape is sewn or bonded over the seam allowance after the seam is closed. It reinforces the seam against stretch, abrasion, and moisture infiltration. In some technical categories, heat-sealed seam tape is the only way to achieve actual waterproofing at the seam line. In others, it's about durability and a cleaner interior profile.
On a woven jacket or swim trunk, taped seams typically add $0.40 to $0.90 per unit in combined labour and tape material cost. Heat-sealed or bonded seam tape used in technical outerwear and premium swimwear runs higher, $1.20 to $2.50 per unit depending on seam length and tape width. That's not a small number on a tight margin, but it has to be weighed against what seam failure costs in returns, replacements, and lost reorder confidence.
Swimwear and outerwear are the two categories where taped seams move from optional to essentially required at any serious retail price point. Constant moisture exposure, stretch stress, and sun degradation punish unfinished seam allowances quickly. A swim trunk that fails at the inner-thigh seam after two seasons doesn't come back as a reorder. Spend the $0.60 now or absorb the return cost later.
Bartacks, stress points, and where cheap garments fail first
A bartack is a tight cluster of stitches laid across a stress point to prevent tearing. Pocket corners, belt loop bases, zipper ends, and strap attachment points are the standard locations. Every garment has them, or should. The difference between a garment that holds up and one that doesn't often comes down to how many stitches are in that bartack.
For garments expected to withstand regular use, specify a minimum of 42 stitches per bartack. Budget production routinely delivers 20 to 28 stitches. That sounds like a small difference until you understand what happens under lateral stress. A belt loop that gets grabbed and pulled hard, a pocket corner that catches on something, a zipper base that's yanked open hundreds of times. Fewer stitches means earlier failure, full stop.
This is one spec that costs essentially nothing extra to do correctly. The machine is already there. The thread is already threaded. The difference is in the program and in whether anyone at the factory checked it. Write the stitch count into your tech pack explicitly. Don't assume. 'Bartack at all stress points' is not a specification. '42-stitch bartack at pocket corners, belt loop bases, and zipper ends' is.
Lining quality and how it telegraphs overall construction standards
Lining is where brands make lazy decisions. The shell fabric gets all the attention during development, and the lining gets whatever the factory has available that's close to the right colour. This is a mistake with real consequences.
Lining fabric weight needs to be specified relative to the shell, not in isolation. A lining cut too light for the shell it's paired with will shift, bunch, and wear through at friction points within one season. It's not just an interior quality issue. A bunching lining affects how the garment hangs and drapes on the body, which is a problem your customer notices immediately. For a structured jacket, a lining spec'd at 2.5 oz/sq yd to 3.2 oz/sq yd provides the right weight relationship. Go lighter than that and you've created a problem the customer will blame on the jacket, not the lining.
Lining attachment method matters too. A lining that's only attached at the hem and armhole will migrate over time. Specify tack points or a floating lining with a catch stitch at appropriate intervals. And yes, thread colour on interior seams matters. Mismatched interior thread is invisible to the consumer until the garment is turned inside out for inspection or repair. At that point, it signals exactly what a buyer already suspected: that the construction was executed without a coherent internal spec.

Seam finishing options for premium apparel: bound, serged, French, and turned-and-stitched
The finish on an exposed seam allowance is one of the clearest signals of where a garment sits in the market. Here's a direct breakdown.
- Serged edge: the seam allowance is trimmed and overlocked with a serger. This is the baseline in budget and mid-budget production. It prevents fraying adequately but it's the fastest, cheapest option. Retail positioning: under $80 in the U.S. contemporary market.
- Bound seam allowance: a separate fabric strip (typically a woven bias tape or self-fabric strip) is folded over the raw seam allowance and stitched down. It adds roughly $0.25 to $0.60 per seam in labour and material. It's a standard expectation in garments retailing above $120. It also looks intentional, which matters when a buyer turns the garment inside out.
- French seam: the seam is sewn wrong-sides together first, then folded and sewn again right-sides together, enclosing the raw edge entirely inside the seam. It requires a two-pass sewing operation and more time on the machine. But it nearly eliminates interior fraying complaints and is the expected construction in fine blouses and lightweight trousers retailing above $150.
- Turned-and-stitched: the raw edge is turned under and stitched flat. Cleaner than a serge, less structured than a bound seam. Common in mid-tier wovens and some unlined jackets. Retail positioning: $80 to $120, depending on execution.
None of these is universally correct. The right choice depends on fabric, category, retail price, and how the garment will be used. What matters is that you've made a deliberate choice and written it into the spec. If you haven't specified it, the factory will default to whichever method is fastest for them.
What to actually write in your tech pack to get these specs executed correctly
A tech pack that doesn't address interior finishing is an incomplete tech pack. That sounds obvious, but most brands hand over a document that specifies the shell construction in careful detail, then has a single line saying 'interior to be clean and professional.' That's not a spec. It's a wish.
Here's what your interior finishing section needs to include, by garment type:
- Seam allowance finish: specify the method by seam location, not as a blanket instruction. Side seams, shoulder seams, and inseams may get different treatments in the same garment.
- Bartack stitch count and placement: list every stress point and specify the stitch count. '42-stitch bartack' is a complete specification. 'Reinforce stress points' is not.
- Seam tape: specify whether it's required, which seams it applies to, whether it's sewn or bonded, and the tape width in inches.
- Lining fabric and weight: specify the lining fabric composition, weight in oz/sq yd, and colour. Specify thread colour for interior seams separately from shell thread colour.
- Lining attachment method: specify where the lining is attached, how it's attached, and whether it floats or is fully sewn down.
- Interior label placement: specify the label type, placement, and attachment method, including whether a care label is separate or combined.
Write these specs with the same precision you'd apply to the external construction. Every vague line in a tech pack is a decision you're handing to the factory floor to make on your behalf. Sometimes that works out. Often it doesn't.
The finishing details worth paying for and the ones that are just performance
Not every premium interior finishing detail is worth the cost. Some of them are genuine quality markers. Some of them are visible only to other manufacturers and add nothing to how the garment performs or how it's perceived by the end buyer. Worth being honest about both.
Worth specifying
- Bound seam allowances in any garment retailing above $120, because buyers check and they notice.
- 42-stitch bartacks at all stress points, because the cost difference is negligible and the durability difference is real.
- Correct lining weight relative to shell fabric, because a mismatched lining creates problems the customer feels before they can name.
- Taped or bonded seams in swimwear and outerwear, because moisture and stress exposure make them a functional necessity, not a luxury.
- French seams in lightweight blouses and fine trousers, because fraying complaints are expensive and this construction prevents them.
- Thread colour matching on interior seams, because it's a zero-cost spec that separates a coherent internal spec from a careless one.
Worth reconsidering
- Self-fabric bound seams in a garment retailing under $90. The cost doesn't justify the price point and the buyer isn't expecting it.
- Heat-sealed seam tape in a non-technical category. It adds $1.20 to $2.50 per unit for a benefit that only matters if moisture or waterproofing is part of the product's use case.
- Double-needle topstitching on interior seams that will never be seen or stressed. It's not wrong, but it adds time for no functional reason in most categories.
- Elaborate hanging lining stitches in a garment that will be washed frequently. The attachment method needs to match how the garment is actually used, not just how it photographs.
The honest answer is that internal finishing decisions should be driven by retail price, category, and use case, not by what sounds most impressive in a brand story. Spend the money where it prevents failures and earns buyer confidence. Don't spend it where it adds cost the customer can't perceive and the buyer won't credit.
Internal finishing is where garment quality actually lives. The shell fabric is what gets photographed. The construction underneath is what determines whether the garment comes back as a return, earns a reorder, and builds the kind of retail confidence that translates into a long buying relationship. Specify it with the same attention you give everything else, and make sure your factory has something concrete to execute against.
If you're developing a new style or reviewing your current tech pack for interior finishing gaps, send us your spec sheets and we'll tell you exactly where the execution risks are before sampling begins.
Get a quote