Production basics
Garment Dyeing vs Piece Dyeing: What the Difference Actually Costs You at the Production Level
Garment dyeing vs piece dyeing in apparel production: how each method affects hand feel, shrinkage, colour fastness, and your per-unit cost before you commit.
The question of garment dyeing vs piece dyeing in apparel production comes up early in most development conversations, and it gets answered wrong surprisingly often. Not because the brand made a bad decision, but because nobody explained what the sequence actually does to the fabric, the fit, and the timeline before the order was placed. That's what this post is for.
What garment dyeing and piece dyeing actually mean on the factory floor
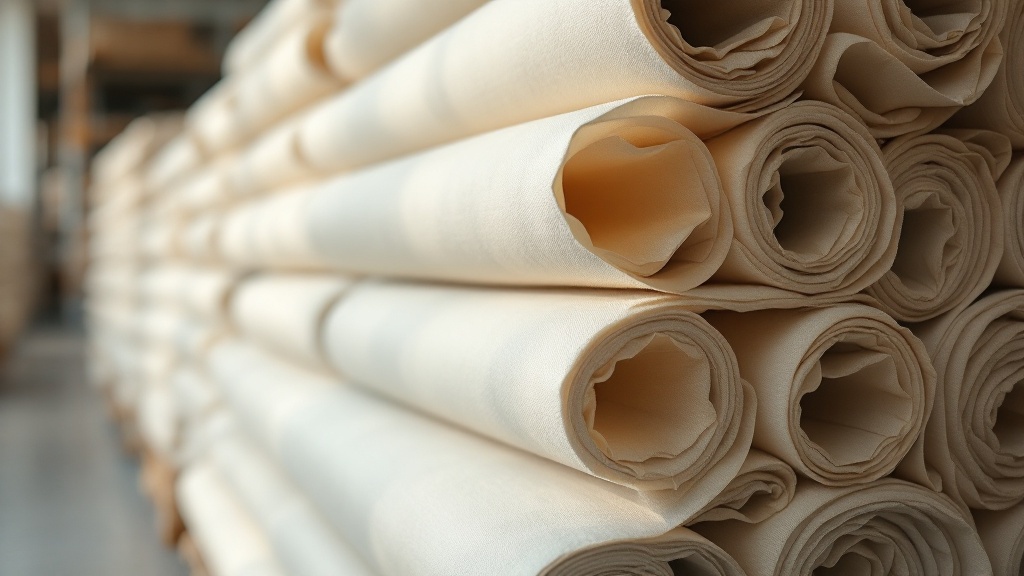
Piece dyeing happens before anything is cut. The fabric comes off the mill as greige or undyed, goes through the dye process on the roll, and arrives at the cutting table in its finished colour. From there, production runs more or less like any other programme.
Garment dyeing flips that sequence entirely. The fabric is cut and sewn first, in greige or a base colour, and the finished garment goes into the dye bath at the end. That single reversal changes nearly every downstream decision you'll make about sizing, trims, fabric choice, and timeline.
It sounds like a minor distinction. It isn't. Think of it this way: with piece dyeing, you're working with a finished, stabilised material before construction begins. With garment dyeing, you're handing a finished garment to the dye house and hoping the whole thing responds the way you expected. The variables multiply at every step.
How each method affects fabric hand feel and why it matters for your price point
Piece-dyed fabric is processed under controlled mill conditions, with consistent tension, temperature, and finishing. The hand feel you approved in the sample is largely what you'll get in production, assuming the mill is consistent and the fabric was pre-shrunk correctly.
Garment dyeing does something different. The tumbling action in the dye bath, combined with heat and agitation, softens the fabric fibres and breaks in the surface of the cloth. That's where the characteristic softness of garment-dyed product comes from. It's not a post-wash finish applied on top. It's structural. The fibre has actually been worked.
For premium casualwear, resort collections, or any brand selling a relaxed, lived-in aesthetic, that's exactly what you want. The hand feel is part of the value proposition, and customers can tell the difference between a genuinely garment-dyed piece and something that's been treated to look like one. But if your product sits at a price point where customers expect clean, consistent construction, that slightly irregular, softened surface might read as a defect rather than a feature. You need to know which world your product lives in before you choose the process.
Colour penetration and fastness: where the two fabric dyeing methods produce different results
Piece dyeing gives you a high degree of colour control. You can run lab dips on the roll, approve a strike-off before any cutting begins, and have a clear sense of what the finished colour will look like in production. The dye house is working with a flat, uniform surface under consistent conditions.
Garment dyeing is harder to control because you're putting a three-dimensional object into a dye bath. Seam allowances, folded edges, areas with multiple layers of fabric, reinforced stress points, all of these absorb dye differently than a single-layer panel. The result is colour variation that ranges from subtle and intentional to genuinely inconsistent, depending on how well the process is managed.
Lot-to-lot variation is a documented risk in garment-dyed programmes, even with a competent dye house. Two garments from the same run can come out with slightly different depth of shade simply because one was positioned differently in the drum, or because it was a fraction heavier than the other. In small batches that reads as character. At scale, it can become a quality claim.
Colour fastness is also fibre-dependent. Cotton and cotton-heavy blends accept reactive dyes well in both processes. Synthetics like polyester need disperse dyes applied at high heat, and that works best at the fabric stage, before construction. Trying to garment-dye a polyester-heavy blend is asking for poor penetration, patchy colour, and fastness numbers that won't pass a basic wash test.
The shrinkage problem with garment dyeing and what it means for your size specs
This is the section that saves brands the most money when they actually read it before cutting begins.
Garment-dyed goods typically shrink 3% to 8% during the dyeing process, depending on fabric content, construction, and dye bath conditions. A relaxed-fit T-shirt sewn in an 8 oz/sq yd cotton jersey might shrink closer to 5% to 6%. A more structured woven piece in a tighter construction might come in under 4%. But the range is wide, and it's unpredictable enough that you cannot simply assume your standard size spec will hold.
What this means in practice is that patterns and size specs must be drafted larger before cutting to compensate. How much larger depends on the specific fabric and process, which is why a pre-production shrinkage trial is not optional. It's a requirement. Skipping it to save time is how you end up with a full run of smalls that measure like extra-smalls.
Piece dyeing handles this differently. If the mill pre-shrinks the fabric correctly before it arrives at the cutting table, you're working with a dimensionally stable base. The shrinkage risk has already been absorbed at the fabric stage. Your size spec is more likely to hold through production. That doesn't mean piece-dyed programmes never have shrinkage issues, but the risk profile is meaningfully lower and easier to verify before cutting begins.
Which fabric types respond better to each method (and which ones punish the wrong choice)
Cotton and cotton-heavy blends are the natural home for garment dyeing. The fibre is receptive to reactive and direct dyes post-construction, it takes colour evenly with good process management, and it produces the soft hand feel that the method is known for. 100% cotton fleece, heavyweight jersey, canvas, twill, all of these are reasonable garment-dye candidates.
Polyester and high-polyester blends are not. Disperse dyes require heat-set conditions that are much better controlled at the fabric stage. Garment dyeing a polyester-heavy blend typically produces poor colour penetration, uneven saturation, and fastness results that fail at wash cycle 10 or sooner. If your fabric has more than about 30% synthetic content, piece dyeing is almost always the right answer.
- 100% cotton jersey or fleece: strong garment-dye candidate.
- Cotton-polyester blends above 70% cotton: garment dyeing is possible but requires careful dye selection and testing.
- Cotton-polyester blends at 50/50 or more polyester: piece dye the fabric. Garment dyeing will produce inconsistent results.
- 100% polyester, nylon, or technical synthetics: piece dye, always. Dye sublimation at the fabric stage is your best option for full colour penetration.
- Linen and linen blends: can be garment dyed, but the shrinkage and colour variation are more pronounced than with cotton. Test thoroughly.
- Rayon and viscose: highly sensitive to the heat and agitation of garment dyeing. Can shrink excessively and distort. Piece dyeing is safer.
How dyeing method affects your per-unit cost and minimum order requirements
Garment dyeing adds a processing step at the end of production. That step has a cost, and it's not trivial. Depending on the fabric weight, dye type, and batch size, garment dyeing typically adds somewhere between $1.50 and $4.00 per unit to your manufacturing cost, on top of the base cut-and-sew price. At 500 units, that's a line item that deserves a real conversation before it gets approved.
Garment dyeing also adds 5 to 10 business days to a production timeline because the dyeing step happens after construction rather than before it. On a 4 to 6 week nearshore production cycle, that's a meaningful portion of your total window. You're not adding a few hours. You're potentially adding two weeks when you factor in the dye house queue.
Piece dyeing at the fabric level doesn't add the same kind of post-construction cost, but you're paying for dyed yardage upfront, and you're committing to a colour before any garment is cut. If you need to change direction after cutting begins, you've already absorbed the fabric dyeing cost. Garment dyeing gives you more flexibility on colour decisions late in the process, which has its own value for brands that aren't sure of their colour direction until closer to the season.
On minimums: garment dyeing programmes at Procesarte start at 50 units per colourway, same as our standard cut-and-sew minimums. But small batch garment dyeing is harder to control for colour consistency, so if you're running under 100 units in a single colourway, expect more variation and specify accordingly.
What to specify in your tech pack before a dyeing method gets locked in
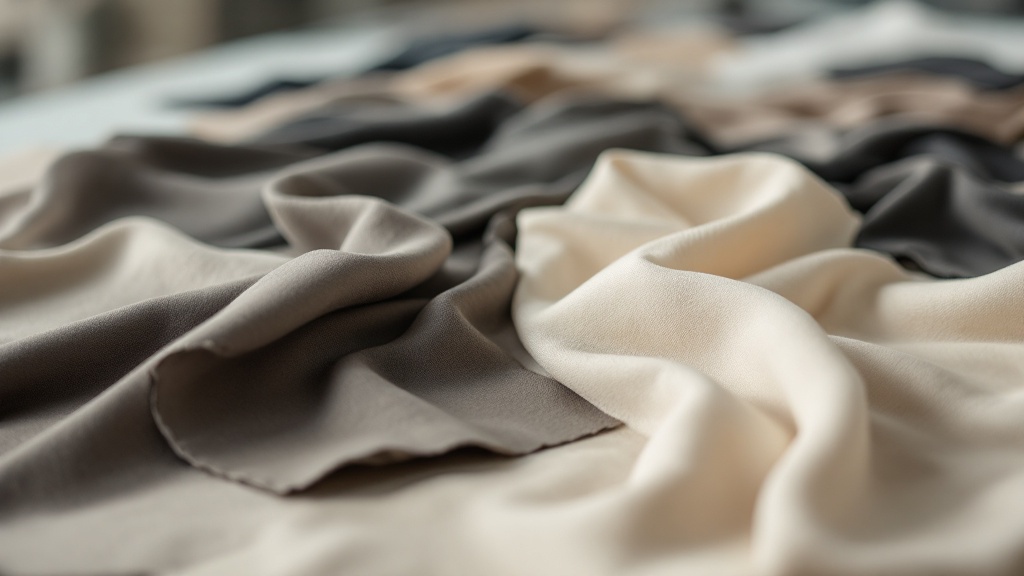
A tech pack that doesn't address the dyeing method is incomplete. It might not seem like a production document issue, but the dyeing choice touches your BOM, your construction details, your size grading, and your QC criteria. If it's not written down, the factory will make a decision for you, and that decision might not match what you had in mind.
Here's what needs to be in the tech pack before a dyeing method is confirmed:
- Dyeing method specified explicitly: garment dyed or piece dyed. Don't assume it's implied by the fabric spec.
- Colour standard: Pantone reference, physical swatch, or approved lab dip. For garment dyeing, note the acceptable variation range, because some variation is inherent to the process.
- Shrinkage allowance: for garment-dyed programmes, patterns must be drafted with pre-dye measurements that account for the expected shrink percentage. Document the allowance that was applied.
- Trim and label specifications: every trim that goes into the dye bath with the garment must be dye-stable or pre-matched to the expected post-dye colour. Specify dye-stable hardware, thread, labels, and zippers explicitly.
- Wash and care instructions: these may differ depending on whether the garment was piece dyed or garment dyed. Reactive dyes on garment-dyed cotton typically require cold wash and low heat drying to maintain colour integrity.
- Acceptable variation range for colour: is lot-to-lot tonal variation within a defined range acceptable, or is it a reject criterion? Write it down.
- Fastness requirements: specify the wash fastness standard you expect (AATCC or ISO), the number of wash cycles, and the minimum grade. This gives the dye house a target, not just a guess.
When nearshore production actually helps you catch dyeing problems before a full run ships
Dyeing problems discovered after a full production run has shipped are expensive problems. Dyeing problems discovered during sampling are just feedback.
With a 7 to 14 day sample turnaround from Procesarte, a brand working through a garment-dyed programme can receive a dyed sample, evaluate colour, hand feel, shrinkage, and trim behaviour, request adjustments, and have a revised sample back in their hands before most overseas factories have finished acknowledging the original order. That's not a small advantage. It's the difference between catching a shrinkage miscalculation on one garment and catching it on 500.
The same logic applies to piece-dyed programmes. Lab dip approval happens before cutting. If the colour is off, you haven't cut any yardage yet. You can redirect without a material loss. With a 12 to 16 week overseas production cycle, the feedback loops are so long that a colour correction at the lab dip stage can push your delivery window by weeks. Nearshore compresses those loops to days.
We've had brands come to us after a failed garment-dyed programme from another source, specifically because they needed to rerun quickly and couldn't afford another long cycle to find out if the fix worked. The ability to iterate at the sample stage, in the same time zone, with a factory you can actually call during business hours, is worth factoring into your sourcing decision before the first sample is ordered, not after something goes wrong.
The bottom line is that garment dyeing and piece dyeing aren't interchangeable options you pick based on preference. They're two different production sequences with different cost structures, different risk profiles, and different requirements at every stage from pattern drafting to trim selection to QC criteria. The right choice depends on your fabric, your aesthetic, your timeline, and how much colour variation your customers will accept. Get those questions answered before the tech pack goes to the factory, not after.
If you're developing a garment-dyed or piece-dyed programme and want to talk through fabric selection, shrinkage allowances, and realistic timelines before you commit to a run, send your brief to Procesarte and we'll give you a straight answer.
Get a quote